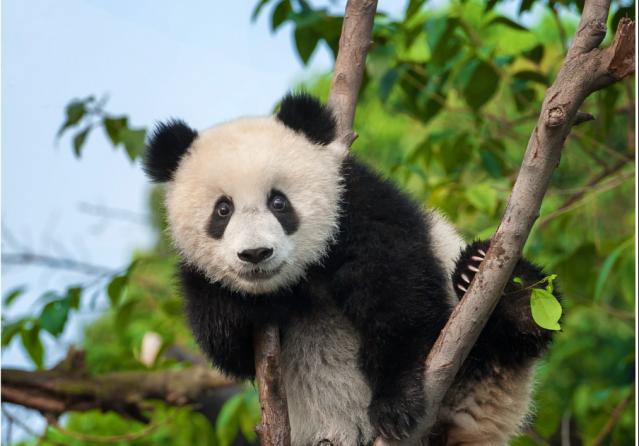
In this post, I am going to explain how to extract specific portion of the image using masking technique.
Following snippet is used to extract the image of intrest using masking technique.
panda_image = cv.imread('panda.png')

blank_image = np.zeros(panda_image.shape[:2], dtype='uint8')
masked_image = cv.circle(blank_image, (400, 500), 400, color=255, thickness=-1)

result_after_masking = cv.bitwise_and(panda_image, panda_image, mask=masked_image)
In summary, the code loads an image of a panda, creates a blank image with a filled white circle, and then uses the circle as a mask to extract and display the panda image content only within the circular region.
Let's break down the provided lines of code step by step:
panda_image = cv.imread('panda.png')
read an image file named 'panda.png' and load it into the variable `panda_image`.
blank_image = np.zeros(panda_image.shape[:2], dtype='uint8')
Above snippet creates a black image with the same dimensions as the panda image.
masked_image = cv.circle(blank_image, (400, 500), 400, color=255, thickness=-1)
Above statement draws a filled white circle on the `blank_image`
result_after_masking = cv.bitwise_and(panda_image, panda_image, mask=masked_image)
Above statement perform the 'and' operation between the `panda_image` and itself, and using `masked_image` as the mask
Find the below working application.
mask_image.py
import cv2 as cv
import numpy as np

# Read the image as matrix of pixels
panda_image = cv.imread('panda.png')

blank_image = np.zeros(panda_image.shape[:2], dtype='uint8')
masked_image = cv.circle(blank_image, (400, 500), 400, color=255, thickness=-1)

result_after_masking = cv.bitwise_and(panda_image, panda_image, mask=masked_image)

# Display the image in new window
cv.imshow('panda_image', panda_image)
cv.imshow('masked_image', masked_image)
cv.imshow('result_after_masking', result_after_masking)

# Wait for Infinite amount of time for a keyboard key to be pressed
cv.waitKey(0)

# Close the OpenCV windows
cv.destroyAllWindows()
Output
Original image
Circle
Masked image
This post first appeared on Java Tutorial : Blog To Learn Java Programming, please read the originial post: here

